
Home Composting Made Simple: Easy Beginner Guide
Compost Made Simple: An Easy, Beginner-Friendly Home Guide for a Greener Lifestyle
Home composting turns everyday kitchen scraps and yard waste into nutrient-rich material that helps plants thrive while reducing trash. With a simple setup and a few repeatable habits, composting can be clean, low-effort, and doable in small spaces. This guide walks through the basics, what to add (and avoid), how to balance materials, and how to troubleshoot common issues so compost becomes a reliable part of a greener routine.
What Composting Is and Why It Works
Composting is controlled decomposition. Microbes (plus helpful critters like worms and beetles) break down organic material into a dark, crumbly, soil-like product that smells pleasantly earthy.
A healthy compost system depends on four essentials:
- Carbon (“browns”) for energy and structure
- Nitrogen (“greens”) for protein-building and fast breakdown
- Moisture so microbes can do their work
- Oxygen to prevent rot and odors
At home, composting can lower food waste in your trash, cut down on smelly bins, improve soil structure, and reduce the need for synthetic fertilizers. Compost also supports healthier plant growth by improving water retention and feeding the soil ecosystem rather than “feeding” plants directly.
For additional composting basics and science-backed tips, see the United States Environmental Protection Agency (EPA) composting guide and Cornell’s practical resources at the Cornell Waste Management Institute.
Choose a Simple Setup That Fits Your Space
The best composting system is the one you’ll actually use consistently. Think about your volume (how many scraps/leaves you produce), how much you care about tidiness, and whether you want to turn the pile regularly.
- Backyard open pile: Fast for larger volumes, especially if you have plenty of leaves. It needs a defined area and occasional turning.
- Stationary bin: A good “set it and keep adding” option for most homes. It looks neat and helps contain materials.
- Tumbler: Turning is easy (spin the drum), which boosts oxygen. It can dry out faster in hot weather and has limited capacity.
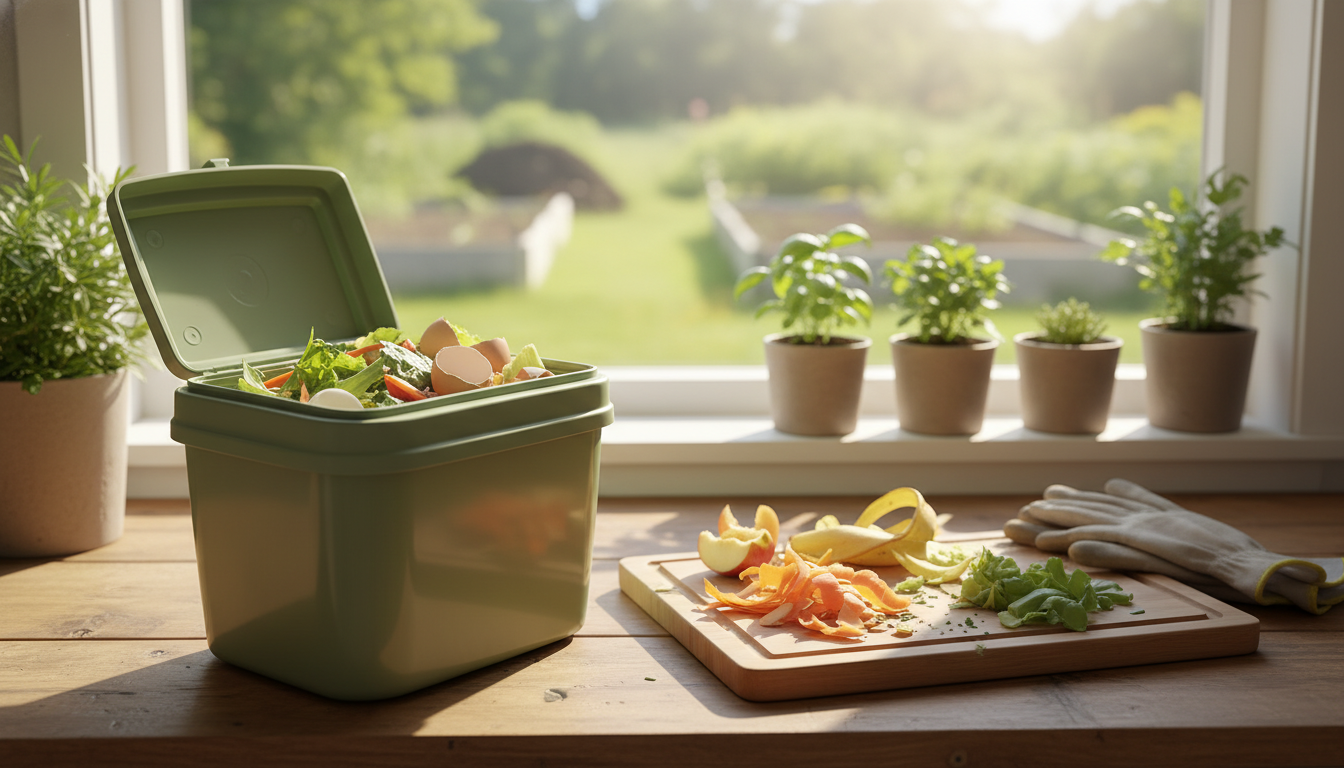
- Small-space bin: A lidded kitchen caddy paired with an outdoor bin works well, and some balconies can handle compact systems if building rules allow.
Common composting setups at a glance
| Setup | Best for | Pros | Watch-outs |
|---|---|---|---|
| Open pile | Yards with space | Cheap, handles lots of leaves | Needs turning; can attract pests if not covered with browns |
| Stationary bin | Most homes | Neater, more contained | May need aeration tools; can compact if too wet |
| Tumbler | Fast, low-effort turning | Easy aeration, clean look | Can dry out; limited capacity |
| Small lidded bin | Apartments/small patios | Compact and discreet | Needs careful balance to avoid odors |
Know Your Materials: Greens, Browns, and What to Avoid
Compost gets easy once you recognize the two main ingredient types:
- Greens (nitrogen): fruit and veggie scraps, coffee grounds, tea leaves, fresh grass clippings, fresh plant trimmings
- Browns (carbon): dry leaves, shredded cardboard, non-glossy paper, straw, wood chips, dried stems
For most home bins, skip meat, fish, dairy, oily foods, pet waste, and large amounts of cooked foods. They tend to cause odors and attract pests unless you’re using a specialized system.
If you’re unsure, keep it simple: raw plant scraps plus plenty of dry browns.
The Simple Layering Routine (No Guesswork)
A beginner-friendly routine prevents most compost problems before they start.
- Start with airflow: Add a thin base of twigs, small sticks, or coarse browns to reduce compaction.
- Add greens, then cover: Put in a small layer of kitchen scraps, then cover with a thicker layer of browns to reduce smells and deter pests.
- Lean brown overall: Aim for “more browns than greens” by volume. If it looks wet or smells off, add more browns immediately.
- Keep a brown stash: Store shredded cardboard or a bag of dry leaves nearby so covering scraps becomes automatic.
Moisture, Air, and Turning: The Easy Maintenance Plan
Think of compost maintenance as a quick check-in, not a constant chore.
For a soil-health perspective on why structure, oxygen, and moisture matter, the USDA Natural Resources Conservation Service overview of composting offers useful context.
Fast Fixes for Common Compost Problems
When Compost Is Ready and How to Use It
A Beginner-Friendly Weekly Composting Rhythm
A Simple Guide to Keep on Hand
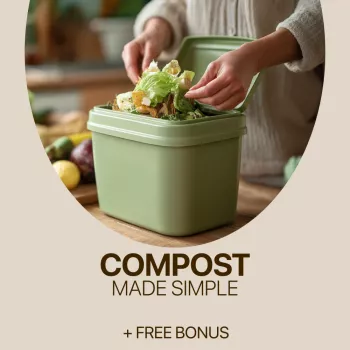
If you prefer a step-by-step, printable-friendly walkthrough with beginner tips and a low-stress approach, Compost Made Simple: Your Easy Guide keeps the process straightforward and easy to follow.
More practical, everyday add-ons
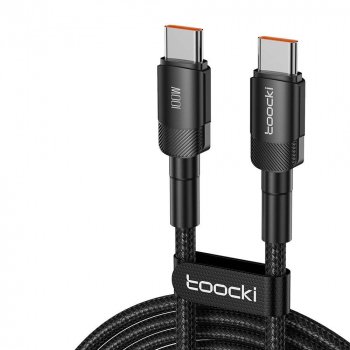
- 100W USB-C to USB-C Fast Charging Cable with PD 3.0 & QC 4.0 – 5A Power for keeping small kitchen tools charged (like a timer or scale used for garden/houseplant routines).
- Cotton Sleeping Bag Liner for a lower-laundry camping setup—an easy way to keep sleeping gear cleaner between washes.
FAQ
What’s the easiest way to start composting at home?
Start with a simple backyard bin or a lidded container system, add a base of dry browns, then add kitchen greens and always cover them with more browns. Keep the pile as damp as a wrung-out sponge and adjust with browns if it gets wet or smelly.
How do you keep compost from smelling?
Smells usually mean the pile is too wet, too “green,” or lacking oxygen. Add dry browns, turn or stir to bring in air, bury fresh scraps under a brown layer, and avoid meat, dairy, and oily foods in a typical home setup.
How long does it take to make compost?
Most home compost takes a few months to a year, depending on how small you chop materials, how often you aerate, and how well you balance greens and browns. Regular turning and steady moisture usually speed things up.









Leave a comment